
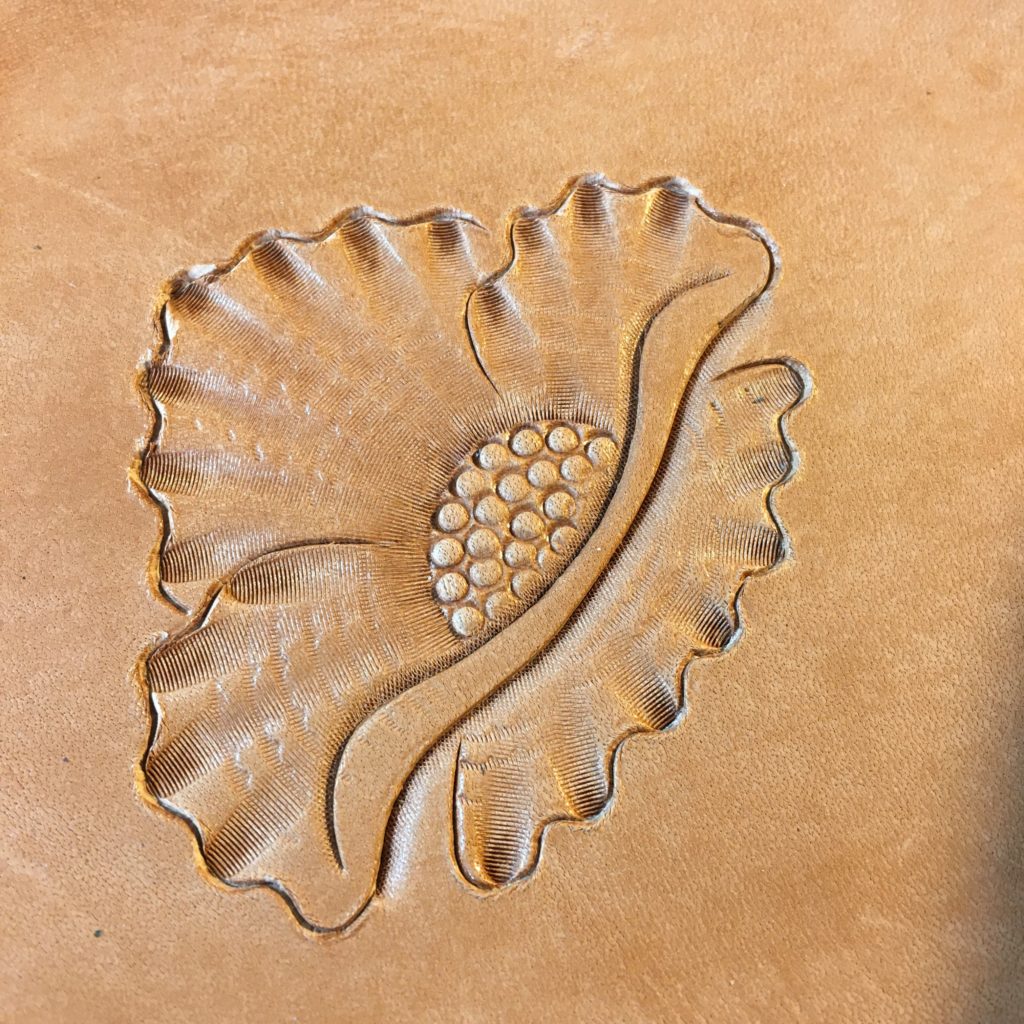
This tutorial will show you step by step how to carve a traditional Northwest style four petal flower in leather. Grab some leather, your tools and follow along!
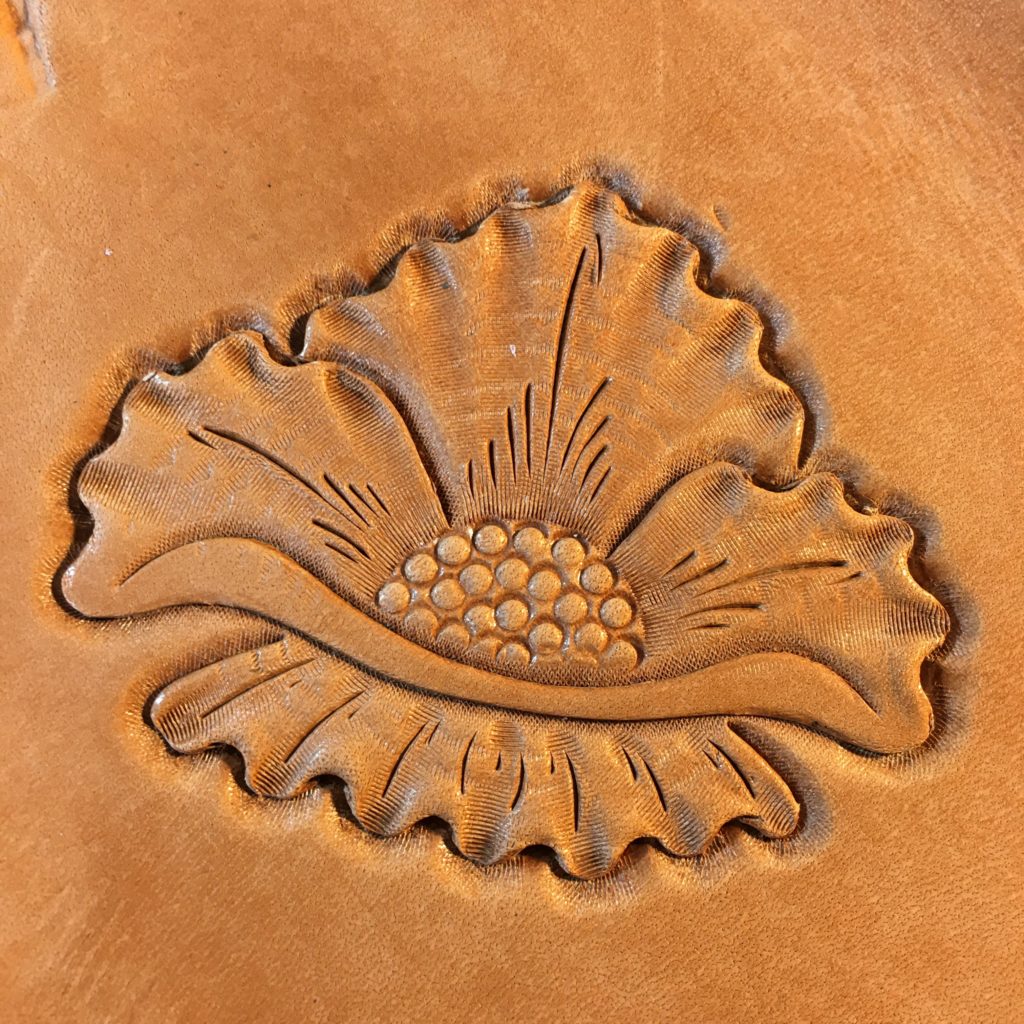
This flower is different from the one in the first tutorial and different from the kind you normally see in Sheridan Style Carving. Instead of using a flower center stamp the center of this flower is made with a tool called a seeder. The center is much bigger and the flower is viewed at an angle instead of from above like we usually depict them in floral carving. This flower comes from a different style of floral carving called the Northwest Style because it was developed in saddle shops of the US Pacific Northwest.
Be sure to go back and look through the first tutorial in this series that I published previously. I won’t cover all the details I brought up before while discussing the tools this time around but you can find all those details by clicking here.
A note on tools: As I said in the first tutorial it’s more than likely you won’t have all the tools that I show here. For the most part I’m staying away from very specialized tools as much as possible though for doing traditional floral carving there are a couple of fairly specialized tools used to get very specific effects (like a center shader.) If you don’t have all these tools don’t worry. Where possible I’ll point out alternate tools you could use. In almost every case these tools are available at your local brick and mortar leather shop or online at your favorite tool maker. It’s sometimes possible to find these tools used from reputable online sources for very reasonable costs.
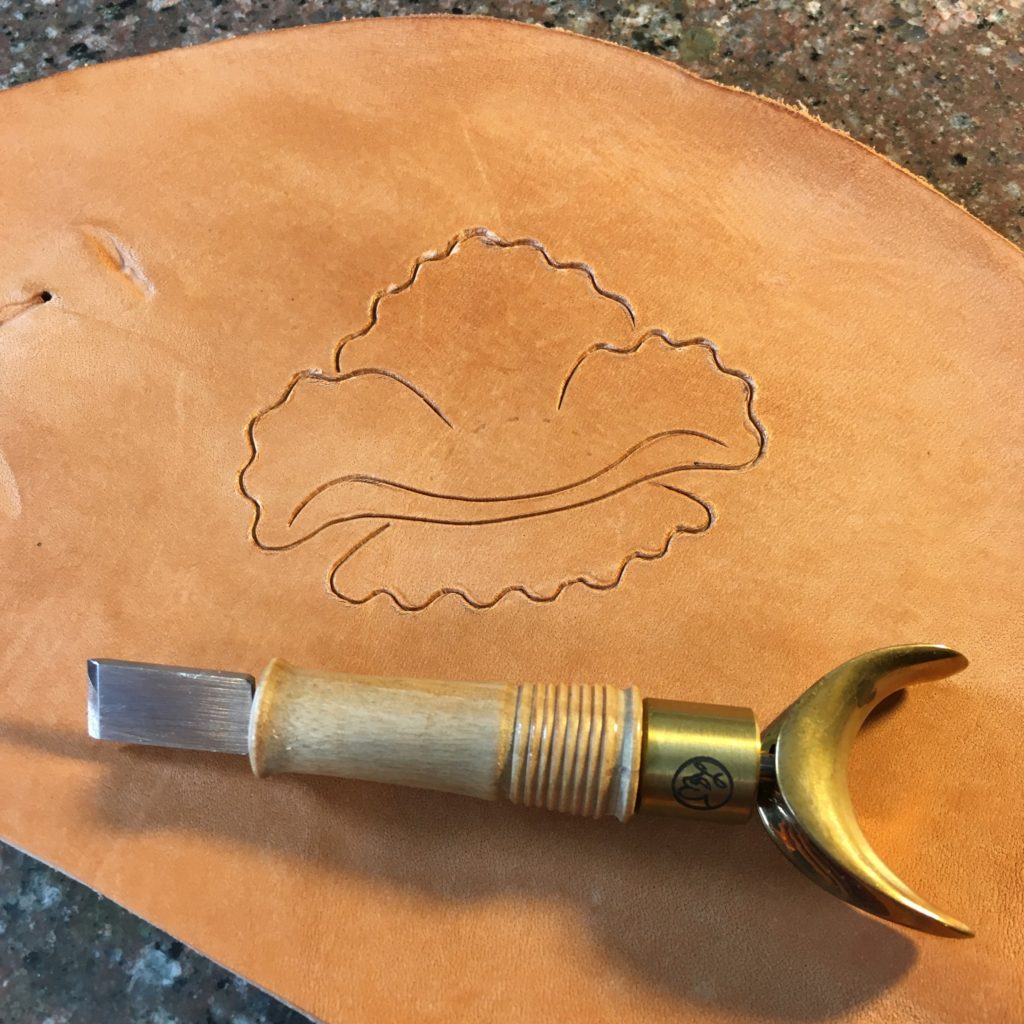
Step 1: Tracing and carving. Again I traced the design onto the damp leather and then carved it in with my swivel knife. A note about how damp your leather should be: let it dry out to the point where it almost comes back to the color it was before you dampened it. Most people start off tooling their leather when it is far too wet and they don’t get burnishing when stamping it. Properly cased leather should darken like a bruise when a tool strikes it hard.
Step 2: Outlining the flower center. Again we’ll start with the flower center even though in this case technically the bottom petal is closer to the viewer. Think of it like you are viewing this flower on edge.
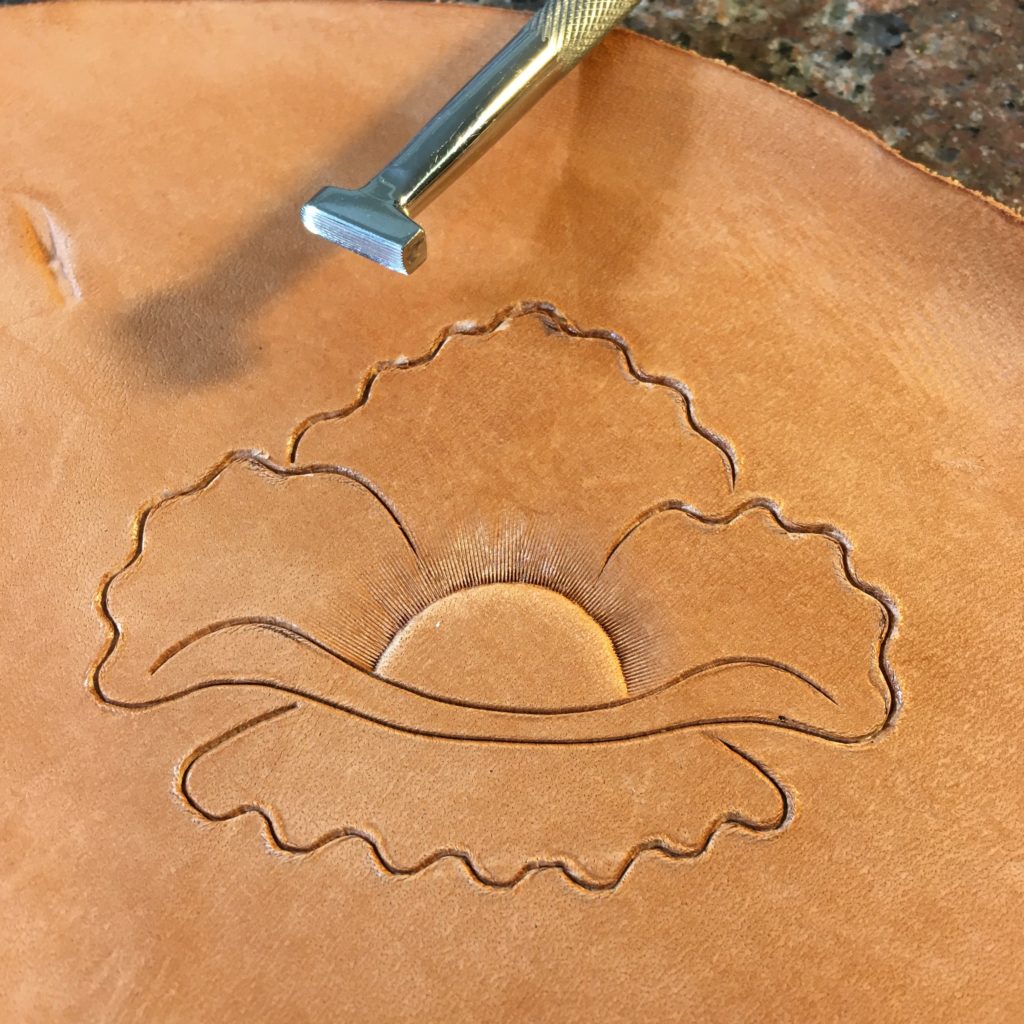
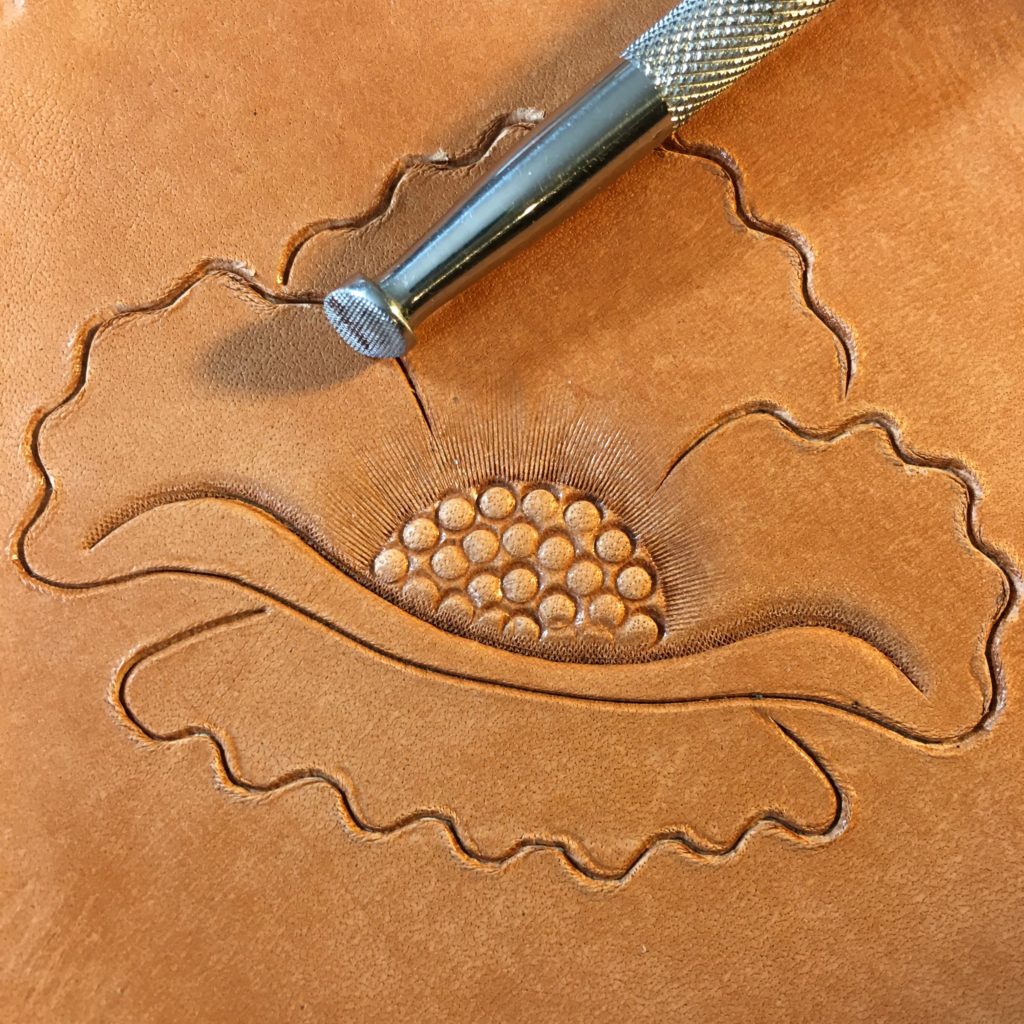
I always start with the center and work on the petals moving out from it. I still use the center shader to outline the flower center like I did before. When I traced the design onto the leather I put a dotted line where the edge of the flower center would be and now I’m using the center shader to bevel that line. Of course if you don’t have a center shader a checkered or lined beveller will work.
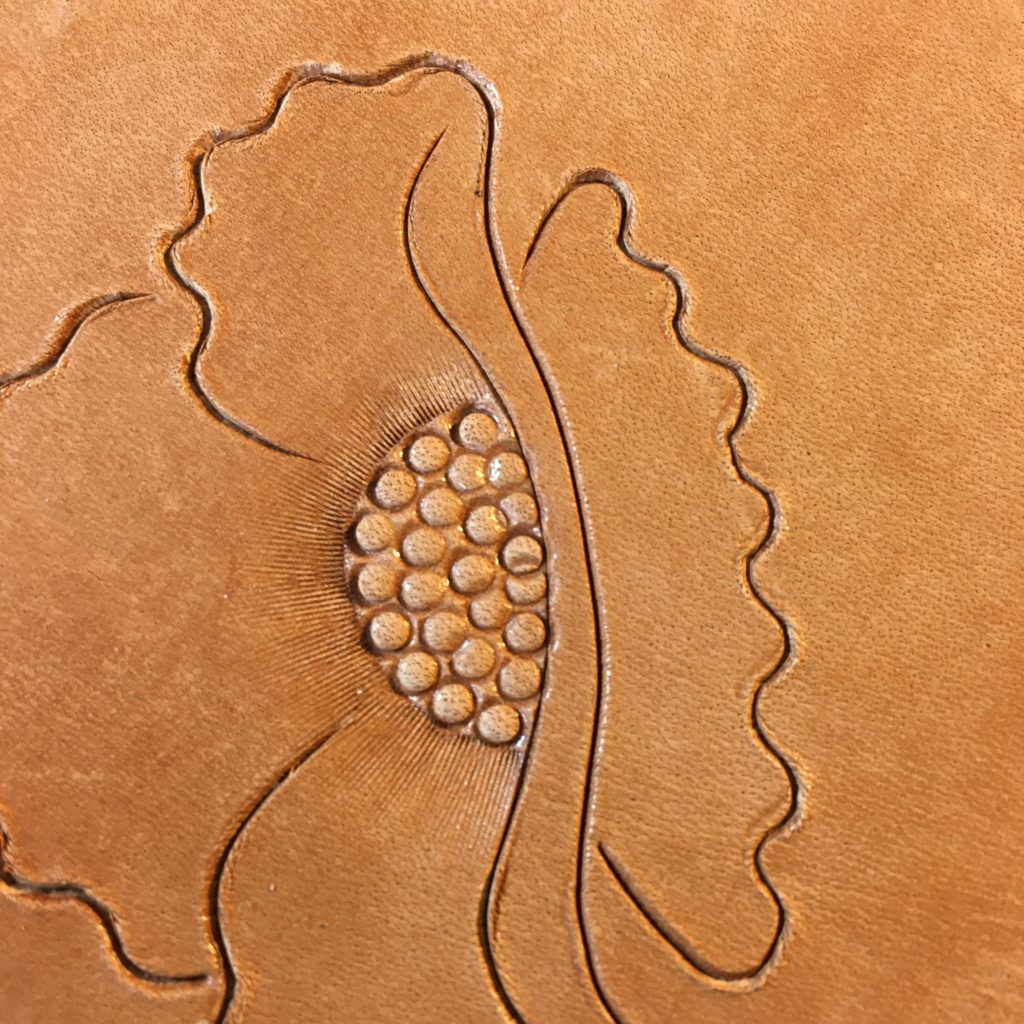
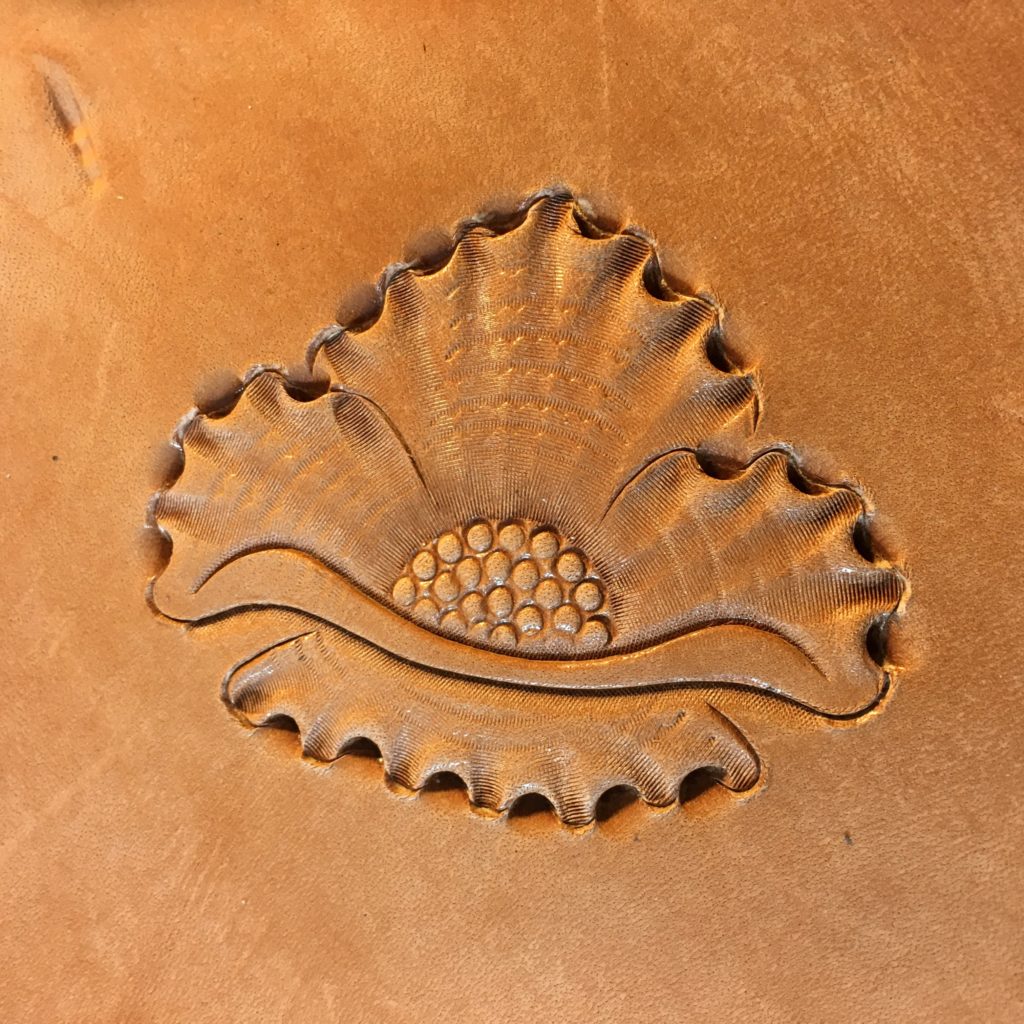
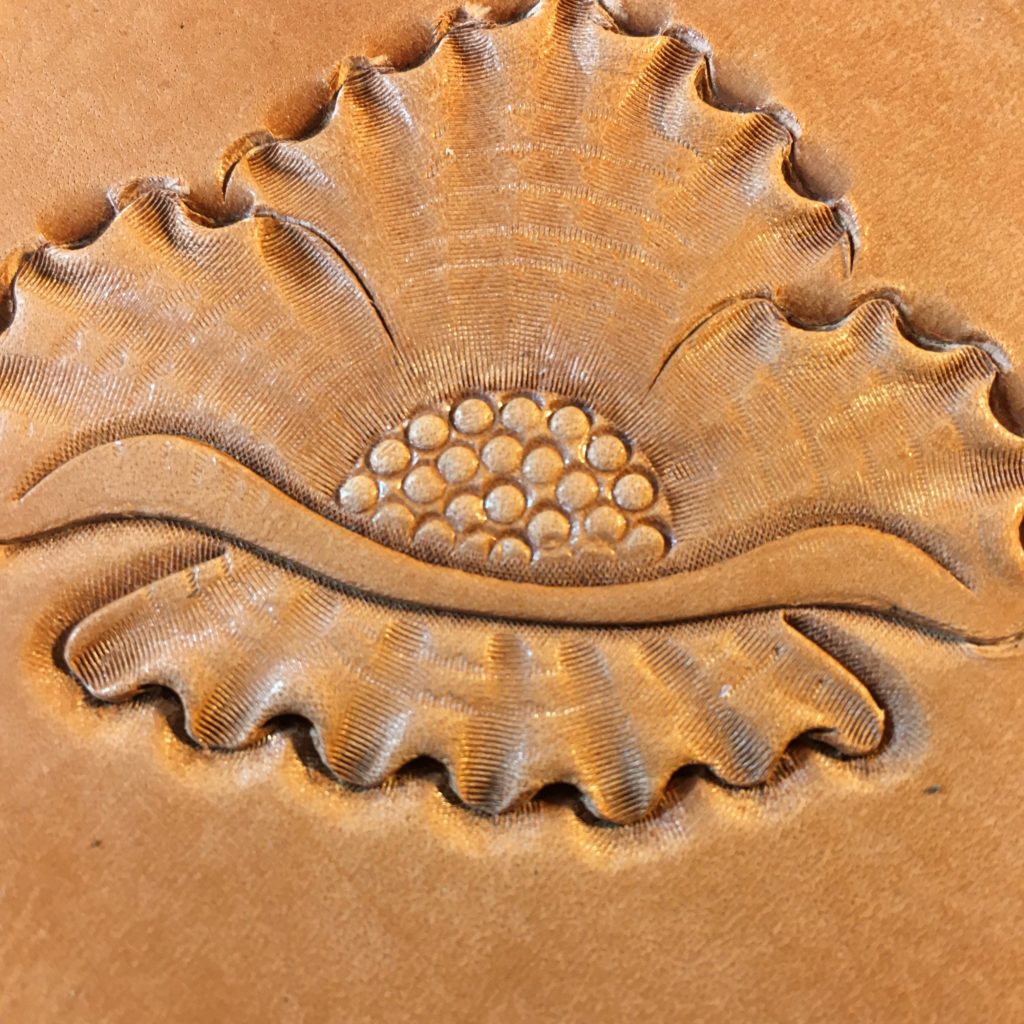
Step 3: Seeding the center. Here we introduce a new tool, the seeder. They come in different shapes and sizes but most of them make a small round ‘seed’ that we will use to fill in the flower center. I will stamp them in rows as neatly as I can, starting with the outer edge and working my way towards the center.
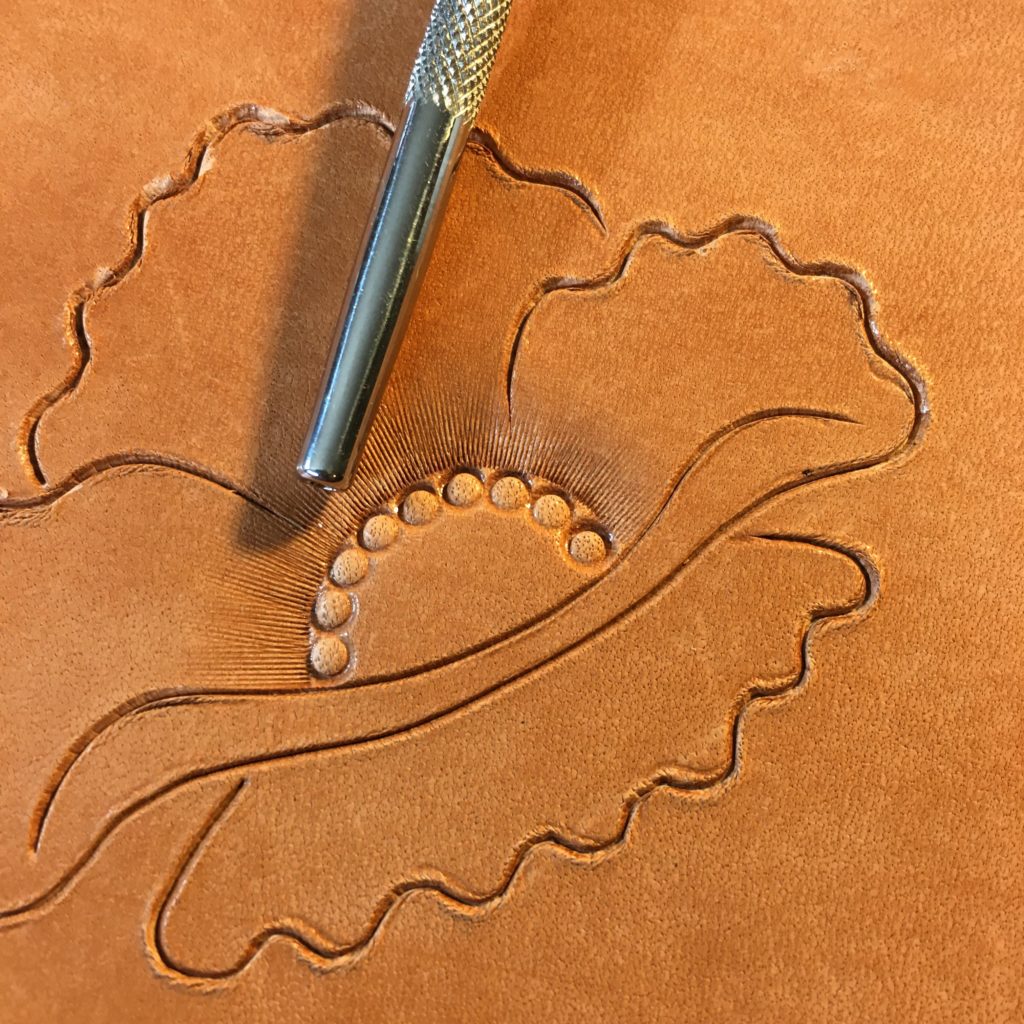
Step 3A: After the first row I add another behind it, trying not to stamp over any of the seeds I already placed of the edge of the center. It takes some skill to place these all in nice evenly spaced rows, a skill I am still trying to master.
Step 4: Beveling the petal in front of the seeds. Once I’m done with the center I start on the petal directly below the line of seeds. This represents a petal the viewer is seeing edge on, and I’m beveling the line that runs along the base of the flower center seeds into the petals on either side of the center.
You want to bevel this line on the side that is TOWARDS the flower center because this petal is supposed to look like it’s opening from the center. Beveling the other side of the cut would make it look like it’s below or behind the flower center, which would just look weird.
One reason I do the center before beveling this line is because you can get some seed marks on this petal and I’ll clean them off either with the beveling or with a little work from a modeling spoon.
Step 5: Stamping veiner marks on the petals. Next I’m ready to add texture to the petals with the veiner.
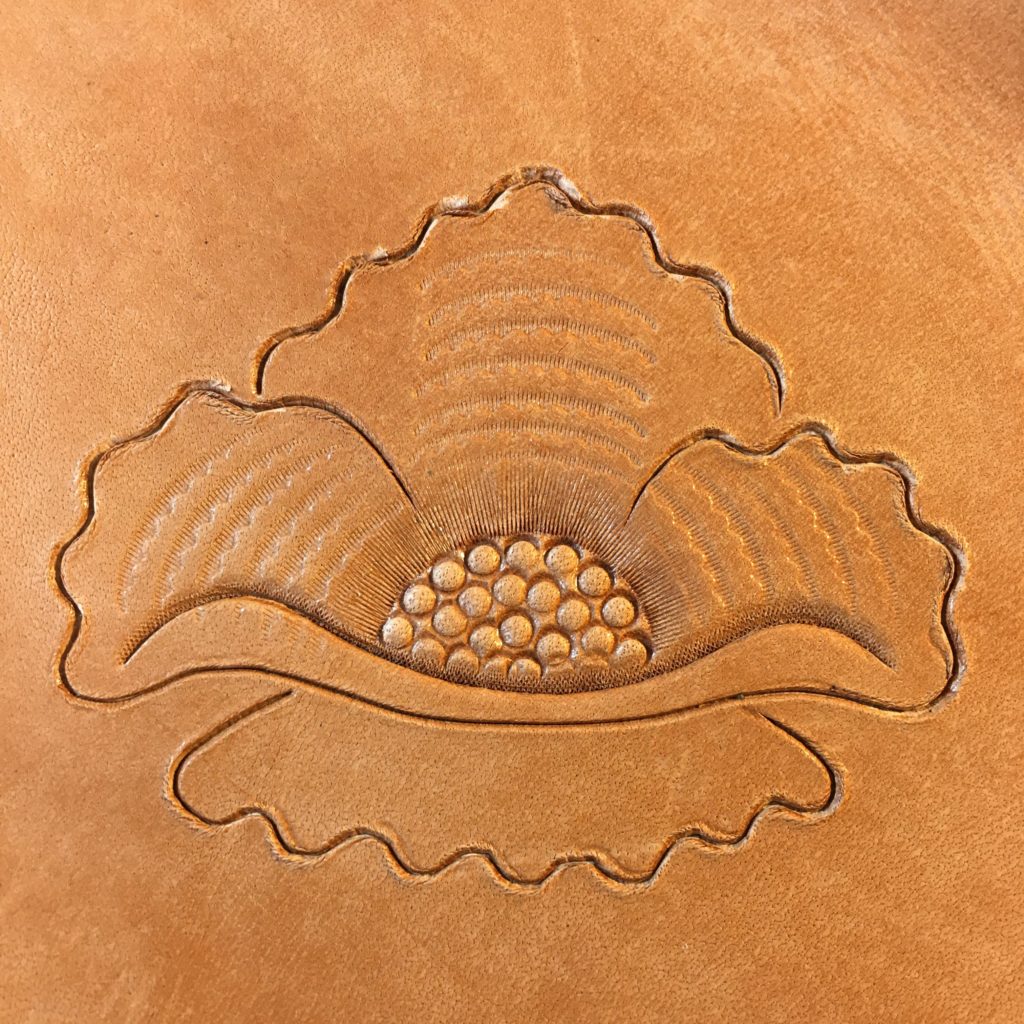
See the first tutorial for more details on this. I’m doing the same thing here that I did on that flower. The only differences on this one is that the long narrow petal just below the seeds doesn’t get any veiner marks. Also I did put them on the petal at the very bottom, but I added them after I took this picture. But you can see them in the next step.
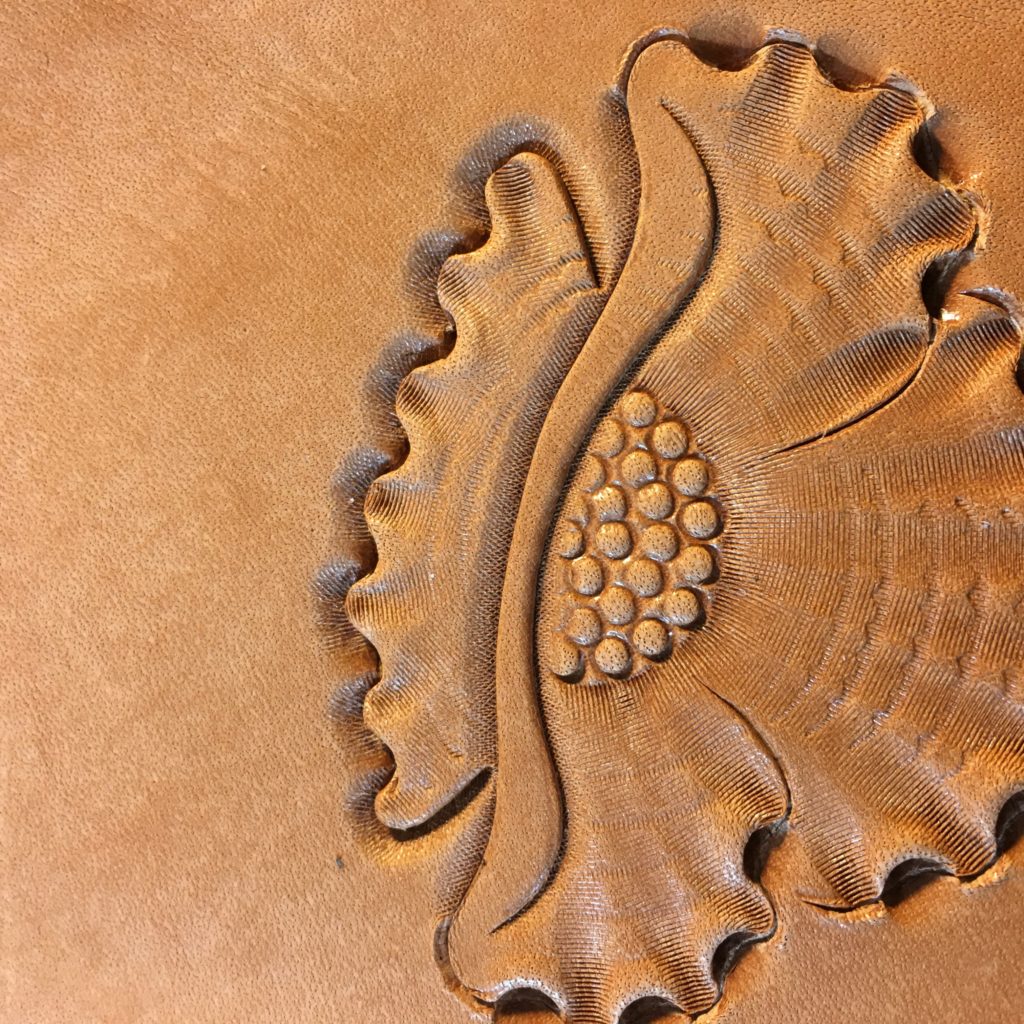
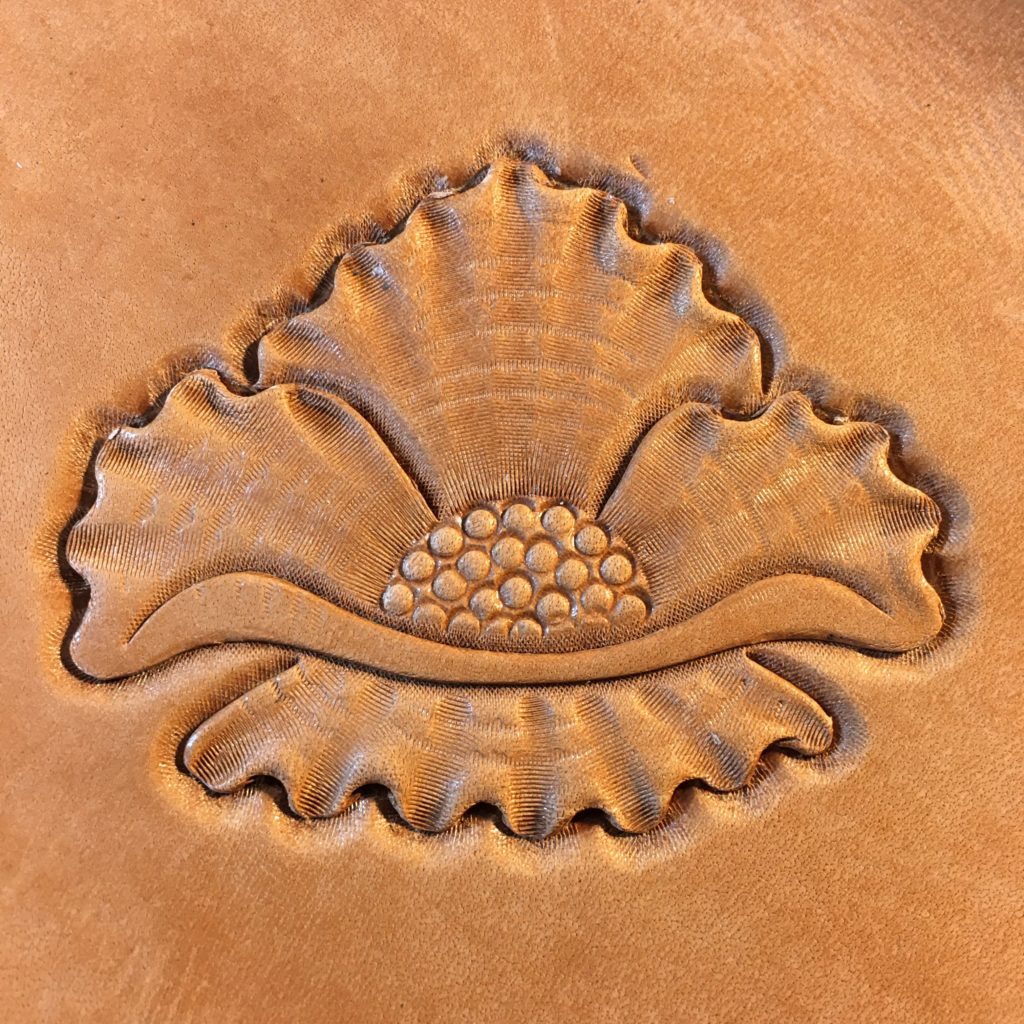
Step 6: Shading the petals. Just like the last flower I am using my thumbprint or pear shader tool along the petal edges to add relief to the petals. I start at the tips and walk the tool back toward the center making lighter impressions as I go..
Notice on this flower I started the thumbprint right at the very edge of the petal. I’m actually extending the tip of the tool just a bit past my knife cut. This is another part of the Northwest style of carving. The shader goes all the way to the edge of the petal. Traditionally in Sheridan Style carving (which is the most common style these days) the shader or thumbprint mark stops just short of the edge of the petal. Take a look at the flower in the first tutorial to see an example of the Sheridan style.
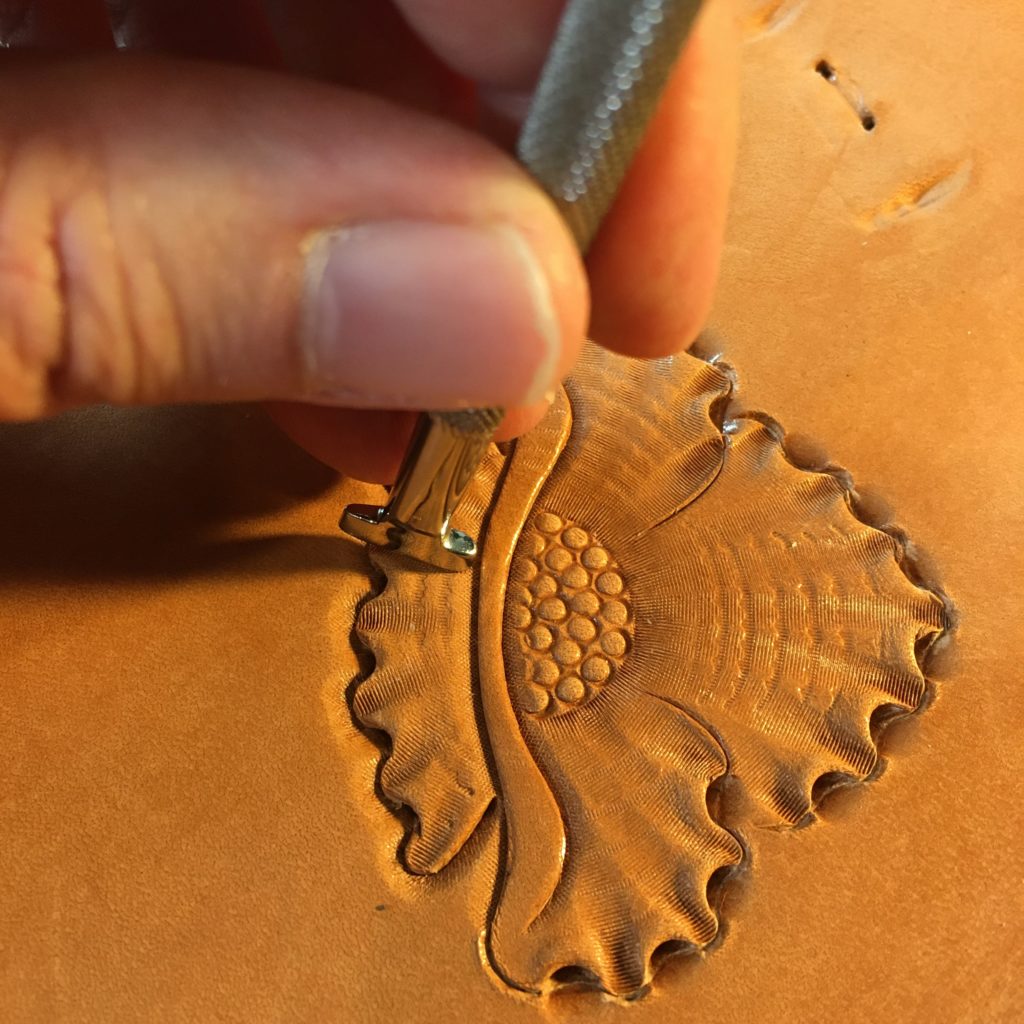
Step 7: Starting to bevel the petals. First I’m going to bevel the bottom of that petal we’re seeing on edge. This time we want to bevel the side of the cut line that is away from the flower center.
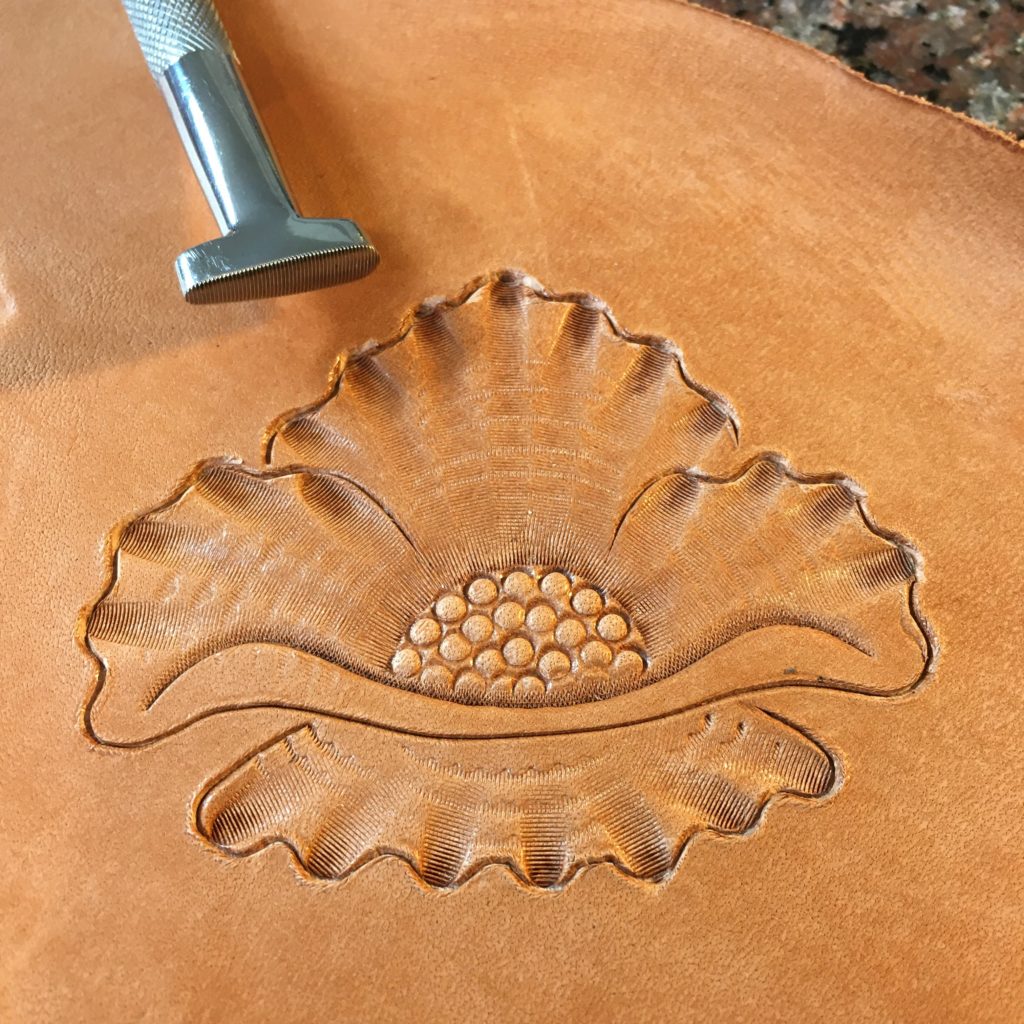
Step 8: Next I’m going to use my undercut beveller in all the small scallops on these petals. There are a lot more of these scalloped areas on this flower and it will end up with a lot more depth and movement than the flower in the first tutorial.

Step 8A: All of the places I needed to lift up with the undercut beveller have been tooled now. You are beginning to see the ripple effect along the edge that this flower is going to develop.
Step 9: Beveling the tips of the bottom petal. Now I’ve switched to my small standard beveller (see step 8 in the first flower carving tutorial) to bevel the small rounded tips of the petal.
It takes small movements of the beveller to follow the tight curve here and not leave tool marks in the leather and get a smooth bevel.
Step 10: Looking at the bottom petal I thought it looked kind of plain where it met the petal above it, so I decided to come back with my thumbprint tool and add some shading from the center towards the thumbprint marks I had already made on the petal tips. I made the new marks so they lined up with the ones from the tips.
Step 10A: This shows what the marks I added look like on the petal.
Step 11: Now to bevel the two petals on either side of the flower center. I did this the same way as the bottom petal using my small beveller.
Step 12: Beveling the edge of the top petal. Since it is the ‘farthest’ part from the viewer and parts of it lie behind the two side petals it gets beveled last.
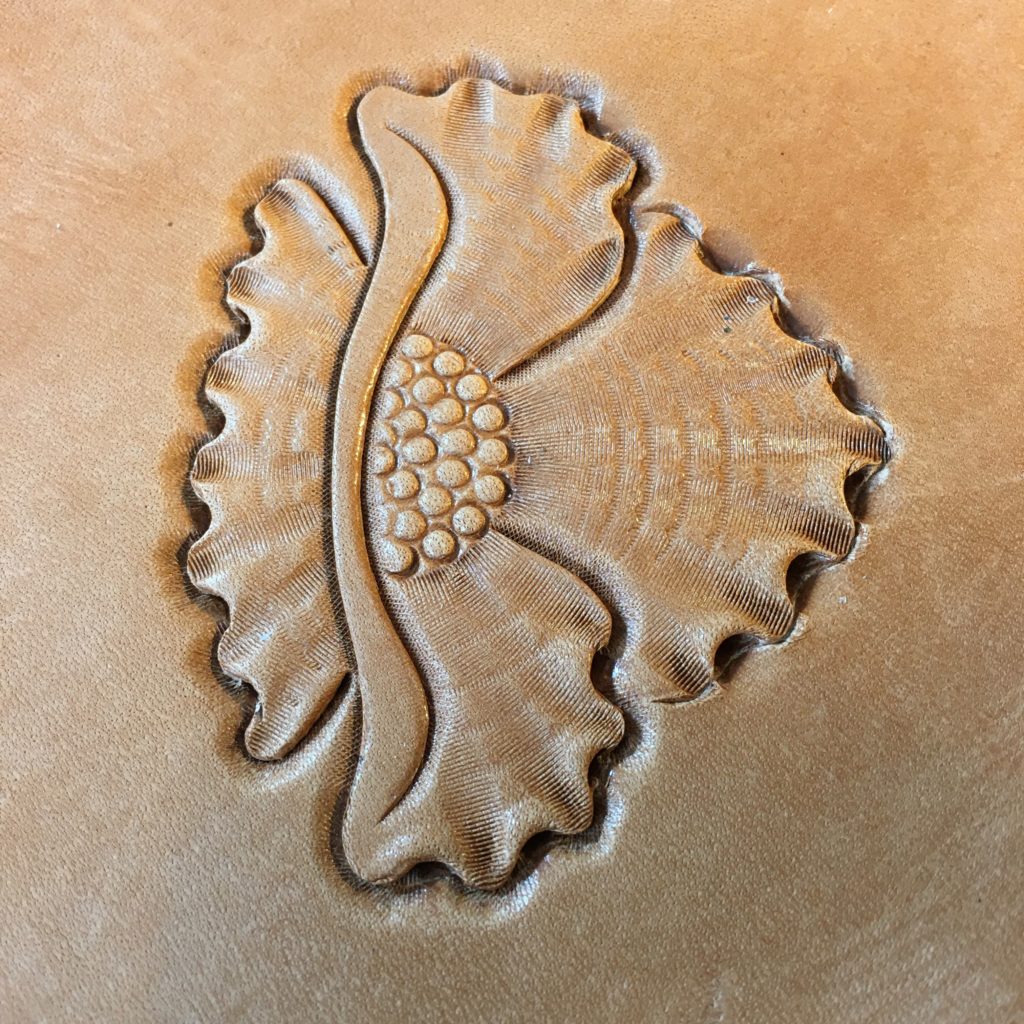
Step 13: Decorative cuts. I finished the flower off with some decorative cuts on the petals.
Note I actually skipped a few steps on this one. I didn’t matte down the beveling ridges on the flower petals like I did in step 9 of the first flower carving tutorial, and I didn’t background around the flower either. This was mostly because I got in a hurry and forgot. But if you want to see those steps done properly, check out the first tutorial.
Northwest Style Flower Carving Tutorial – In a nutshell.
There you have it! Another complete and simple flower carving tutorial. Feel free to ask questions and I will do my best to answer all of them.